1. Start by Logging into Your Onvocado Account
Begin by accessing your Onvocado account:
- Log In:
- Navigate to the Onvocado login page and enter your credentials to access your dashboard.
- Select the Desired Campaign:
- Once logged in, go to the Campaigns section.
- Choose the campaign you want to integrate with AWeber and Navigate to "Publish" Settings
2. Access the AWeber Integration Form
Within the "Publish" settings:
- Locate Integrations:
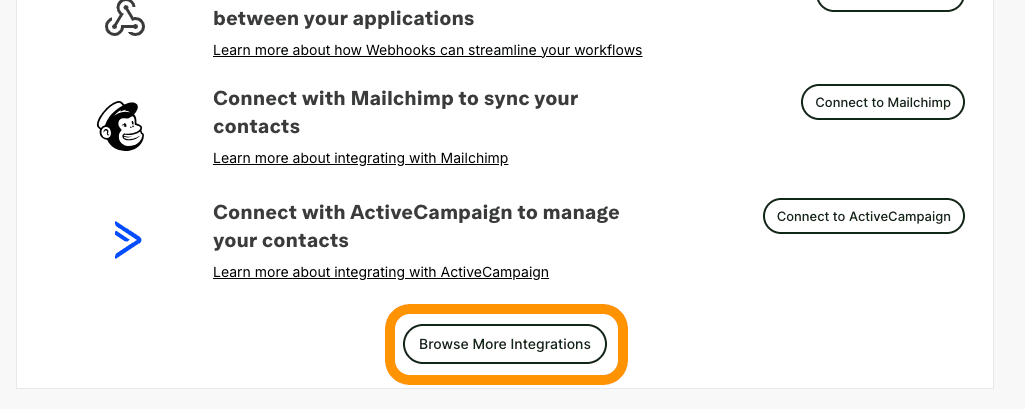
- Once in your campaign's "Publish" page, scroll to the the integrations menu, find and click on the "Browse More Integrations" button:
- Select AWeber:
- From the list of available integrations, select "Connect to AWeber". This action will open the AWeber integration window where you'll input your credentials and establish a secure OAuth connection.
3. Configure AWeber Integration Details
Once the connection is established the AWeber integration form will appear.
a. Integration Name
- Field: Integration Name
- Description: Provide a name for this integration. This helps in identifying the integration, especially if you have multiple integrations set up.
- Action: Enter a descriptive name, e.g., "AWeber Email Marketing Integration".
b. Select Your AWeber Audience
- Field: AWeber Audience
- Description: Choose the specific audience (previously known as a list) from AWeber where you want to sync your Onvocado leads.
- Action:
- Click on the "AWeber Audience" dropdown.
- Select the desired List from the dropdown of available List for your AWeber account.
Note: If you haven't set up a List in AWeber yet, you'll need to create one before proceeding.
c. Configure Field Mapping
Mapping your internal Onvocado fields to AWeber fields ensures that data is correctly transferred and utilized in your email campaigns.
i. Internal Field
- Description: These are the labels of the form elements used in your Onvocado widget.
- Action: Review the list of internal fields displayed on the left side of the mapping section.
ii. External Field
- Description: These are the corresponding field names in AWeber where the data will be sent.
- Action: For each internal field, select the appropriate AWeber field from the dropdown on the right.
Important: Ensure that the Email field is mapped and marked as active since it's mandatory for AWeber.
iii. Activate All Fields (Optional)
- Feature: All Fields Active Checkbox
- Description: Toggles the activation state of all field mappings.
- Action: Use this checkbox to quickly activate or deactivate all mappings based on your preference.
4. Save and Activate the Integration
After configuring all necessary fields:
- Review Your Settings:
- Ensure that all required fields are filled out correctly.
- Verify that the Email field is mapped and active.
- Save Changes:
- Click the "Done" button to save and activate the integration.
- Confirmation:
- A success message, such as "Save successful!", will appear, indicating that the integration has been successfully set up.
5. Test the Integration
To ensure that everything is working as expected:
- Add a Test Lead:
- Create a new lead in Onvocado and submit the form.
- Verify in AWeber:
- Log into AWeber and check if the new lead appears in the selected audience with the correct data mapped.
- Troubleshoot if Necessary:
- If the lead doesn't appear or data is mismatched, revisit the integration settings to ensure that all fields are correctly mapped and that the API credentials are accurate.
- If the lead doesn’t appear or the data isn’t mapped correctly, revisit the settings to ensure the fields are mapped properly and the API credentials are accurate.