Step 1: Select widget to integrate with Zapier
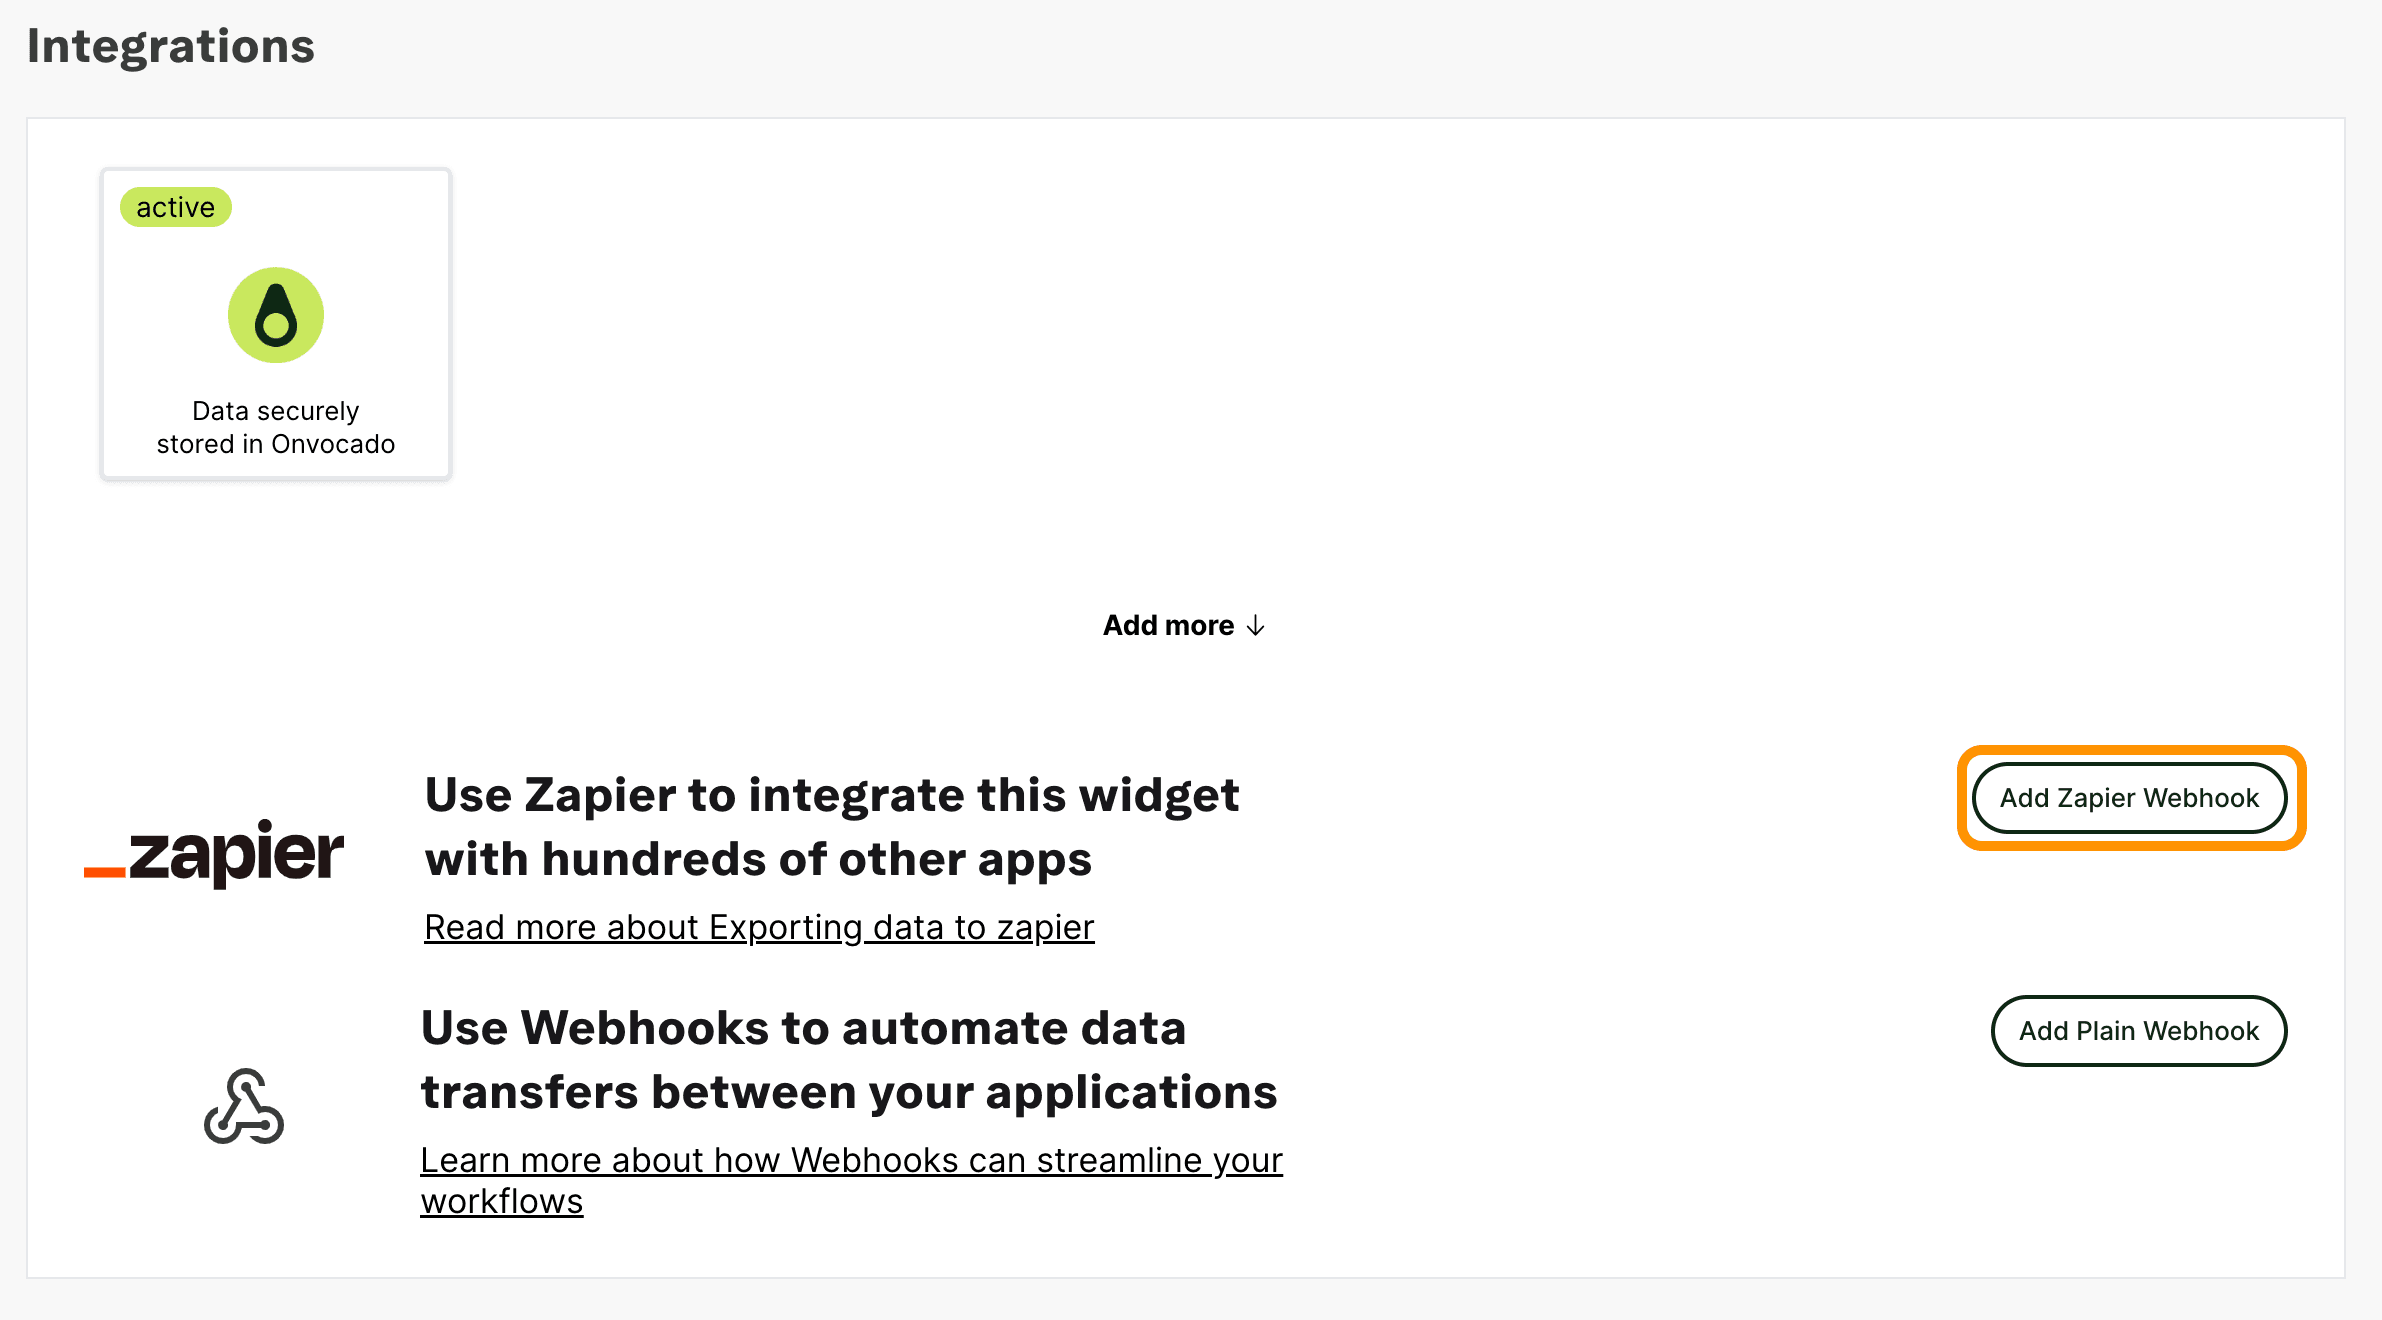
Log into your Onvocado account, go to the "Publish" settings of your campaign. There, under "Integrations" you'll find Zapier.
- Click "Add Zapier Webhook"
- Add the name of your integration
- Click "Open Zapier" to set up your integration in Zapier.
Step 2: Create a Zap
In Zapier, set up a new Zap. Choose Onvocado as the trigger and specify an event, such as “New Form Submission”.
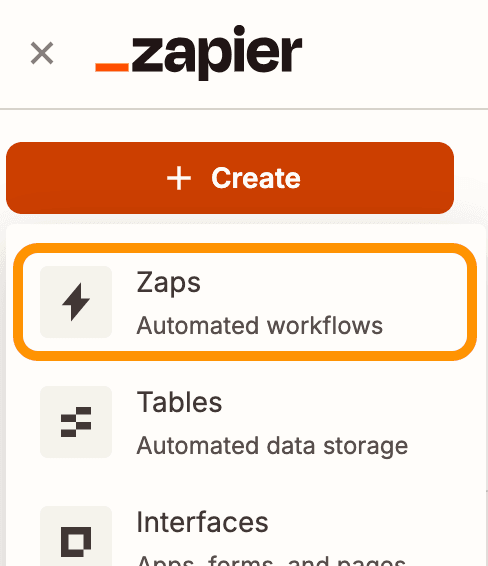
- In your Zapier Dashboard, click "Create" in the left panel and select "Zaps"
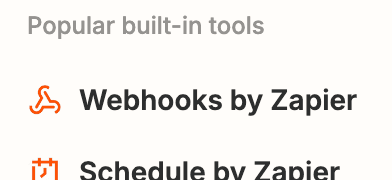
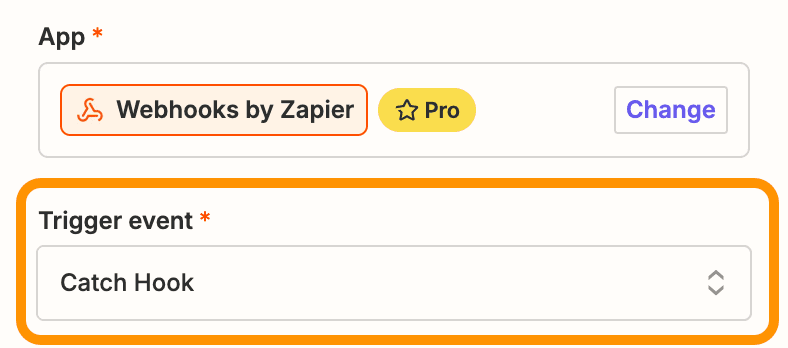
- Click on "Trigger" and select "Webhooks by Zapier" from the options, click "Continue"
- Click the dropdown list and select the Catch Hook trigger event, then click Continue.
- Leave out the "Pick off a Child Key" option blank and click "Continue"
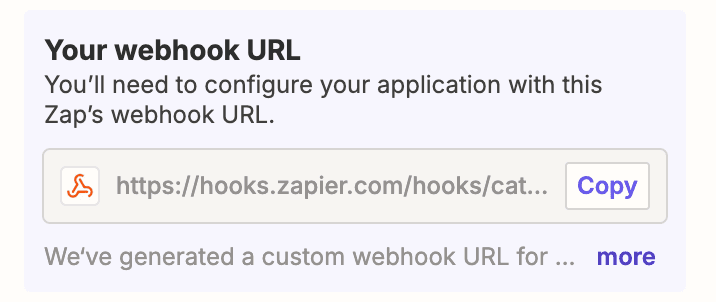
- Copy the webhook URL
- Go Back to Onvocado
Step 3: Connect Onvocado to Zapier
- Paste the URL copied from Zapier in the Webhook URL field.
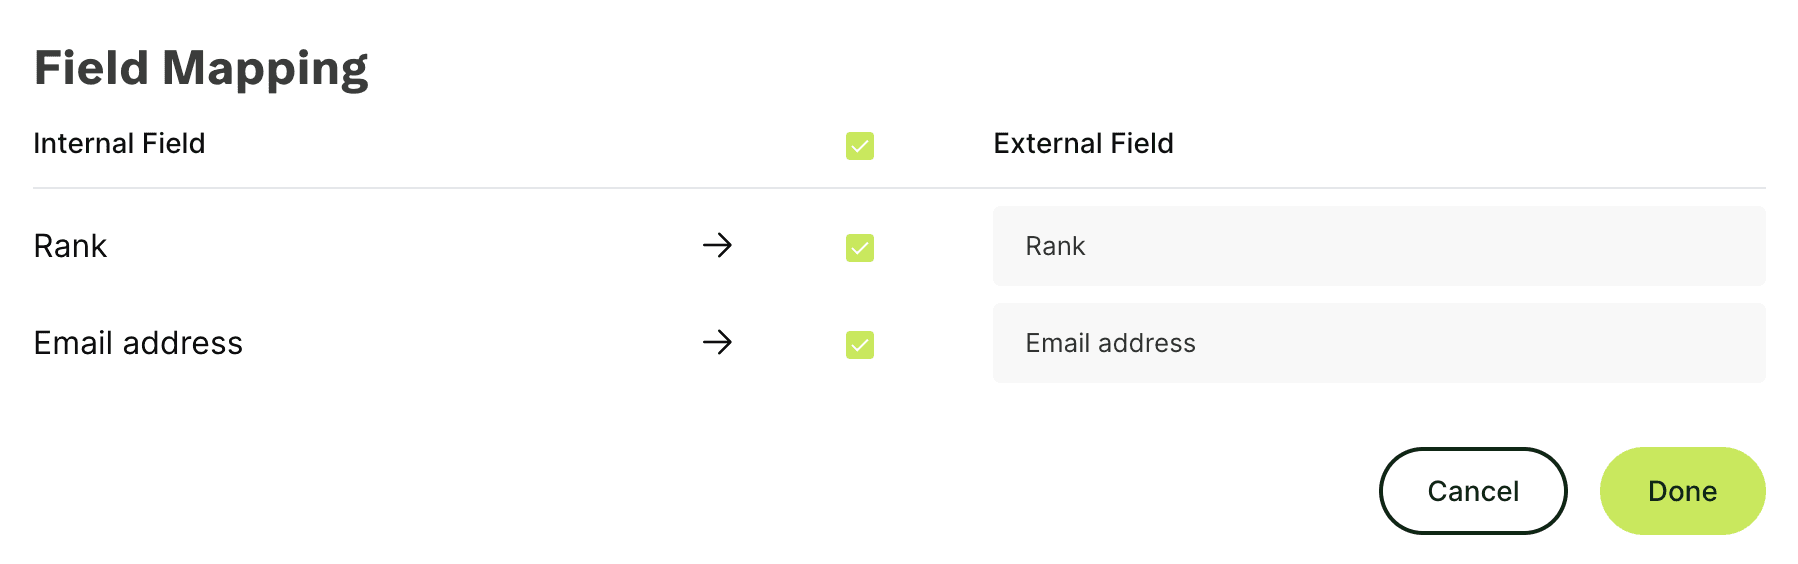
- In the Field Mapping section, you can select which fields to send from Onvocado to Zapier. You can also modify the field names before sending.